
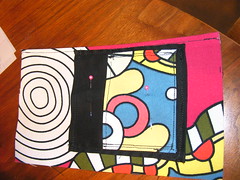
 Materials & Measurements:
Outside Fabric (purchased from Ikea)
- Shell- 8"X12"
- Right Flap- 8"X3"
- Left Flap- 8"X5"
- Pocket- 4.5"X3"
Inside Fabric (purchased from Jo-Ann Fabrics)
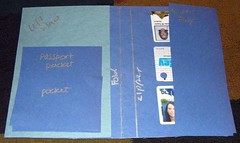
- Lining- 8"X6.5" and 8"X6"
- Passport Pocket- 4.5"X5"
4" Skinny Elastic
Button
*Side note- For this project I used a thicker/sturdier fabric for the outside fabric and a simple cotton for the lining. The studier fabric on the outside helped the wallet keep its form. You could always use interfacing if you wanted it stiffer.
**Beware- This post has A LOT of pictures!! Just thought it'd be easier to understand that way.
Directions:
- Press all pieces of fabric. I know this seems unnecessary but believe me it really helps with measurements when there aren't crinkles in the fabric.

- Cut all pieces out on paper and trace onto fabric. Cut out fabric.
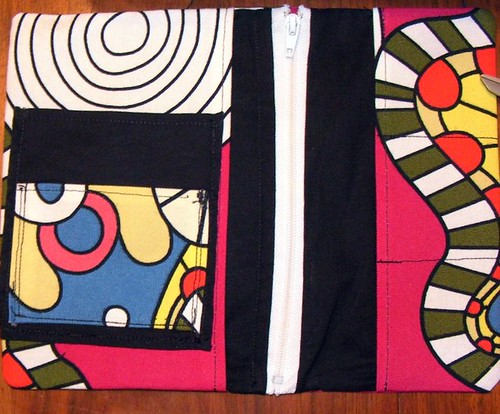
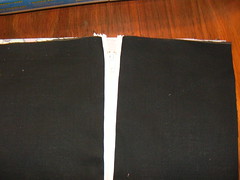
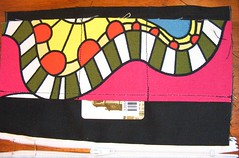
- Attach the zipper to the two pieces of lining material along their 8" sides.
- Press ¼- ½" seams on all edges of the passport pocket and smaller pocket. Sew seams on both of the pockets. Press seam on the right edge of the left pocket and sew. Press seam on the left edge of the right pocket and sew. Pressing in this step makes clean edges for when you sew pockets and flaps down.
- Sew the small pocket on the passport pocket.
- Sew the passport pocket onto the left flap. Keep to the far right of the pocket because you'll need a seam allowance on the left side of the left flap.
- Lay right flap on top of the lining to the right side of the lining. Sew credit card pockets into the right flap (be sure the measure your cards will fit before sewing). To sew the pockets simply sew from the right edge or fabrics to the left edge of the right flap.
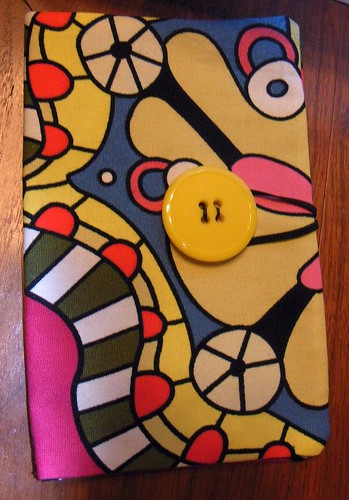
- Sew button to the right side of the shell fabric where you think it should go.
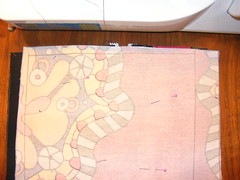
- Lay the left flap to the left of the zipper. Sandwich fabric with right sides together. Remember to open the zipper a few inches so you're able to flip the wallet right side out. Trace straight lines around the perimeter of the fabric to sew along (Don't have to the previous sentences but it helps the keep the lines looking neat.)Take elastic and slide loop into the sandwich of fabric and pin in place. Sew around the perimeter line.
- Trim excess fabric.
- Turn right side out.
- Press.
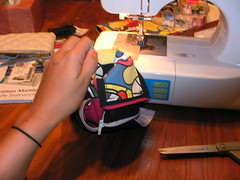
- Determine where the center fold is and sew a straight line from top to bottom.
- Fill it with your passport, money, ID, and credit cards!!!
There are plenty of variation you can do to this. If you don't want it to be for a passport you can always do away with the pockets on the right and make more credit card slots.
I hope this was helpful. I'd love any feedback!!
Enjoy, Amanda


LOVE IT LOVE IT LOVE IT!!!!!!!
ReplyDeleteLooks fabulous! I'm sure Juls loved it!
ReplyDeleteThanks!
ReplyDeleteThis is the cutest passport wallet ever.!! I will definitely try to make this my own. I just purchased printed fabrics from Joann Fabrics.
ReplyDelete